Wardriving with Kismet and WAPMap
What is WAPMap?
I have written this Python script to parse .netxml files output by Kismet and then return a CSV file that can be uploaded to Google Mapping Engine. This will simplify war driving campaigns by allowing vulnerable networks (WEP or Open) to be easily mapped on Google Maps. The WAPMap Github repository can be found hereTo use this tool, you will need to have Kismet working with a GPS device connected to your Kali Linux host. I have provided an explanation on how to do that here
How it Works?
First, you will need to clone the Github WAPMap repository. This can be done with the following command:
# git clone https://github/hack1thu7ch/WAPMap.git
When the script is run without any arguments, it returns the usage description. To run this script, you will need to supply three (3) arguments. These include the Kismet.netxml file of the Kismet scan from which you want to generate your map, the mapping mode (includes -wep and -open) and the name of the output CSV file that will be used to generate the map.

In the example provided below, I have used a .netxml file from a scan I performed around my apartment complex. I have used the -wep argument to map out WEP encrypted networks. And I have used wep_upload.csv as the output file name (this name is arbitrary, and you can use anything as long as you append a .csv to the end).

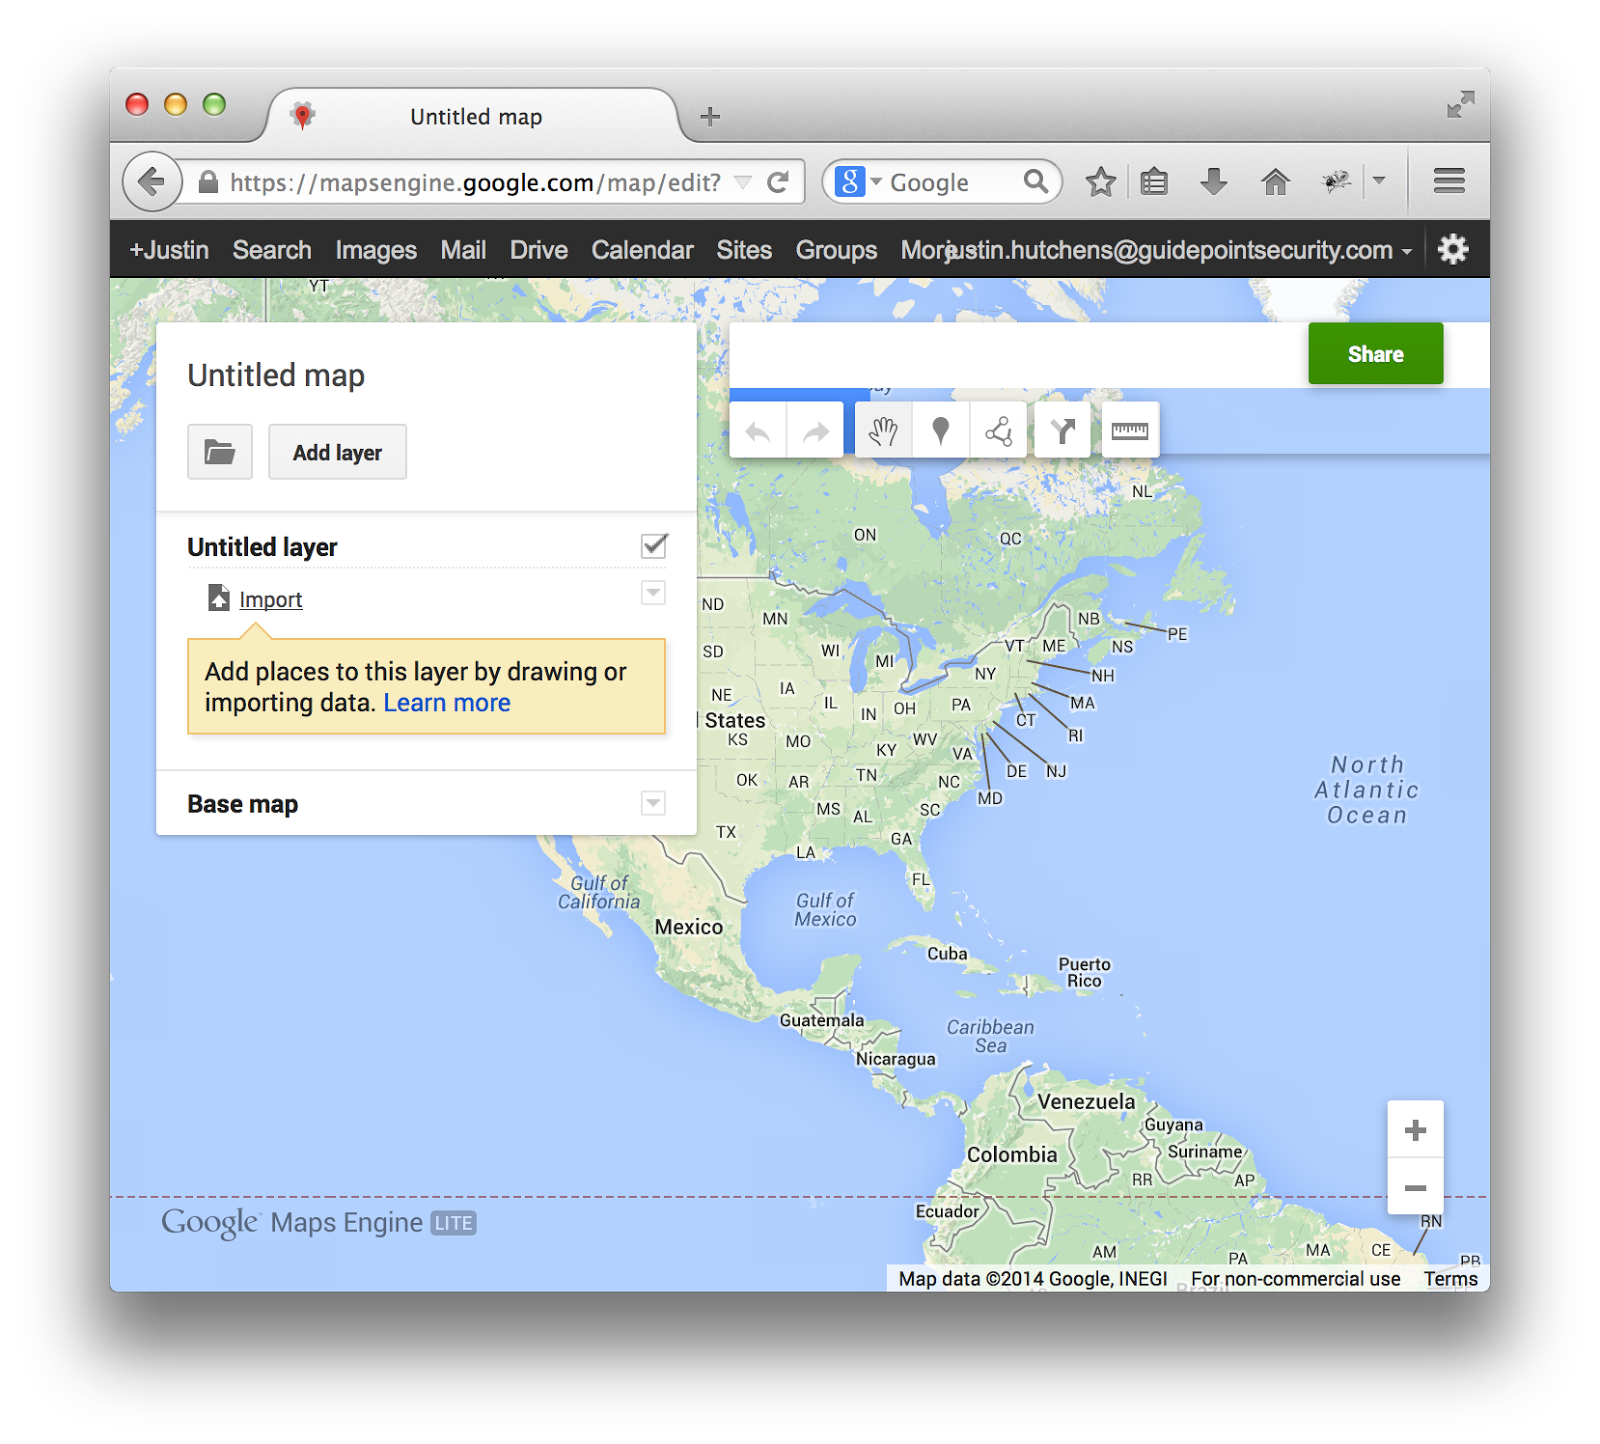
Once run, the script will output a tab delimited table showing the detected vulnerable networks of the specified encryption level. Additionally, it will also output the CSV file that is highlighted above. This is the one you will upload to Google. Once you have this file, open your web browser and go to:
Next, you will need to click the “Import” link in the menu in the top-left corner of the map.
This will bring up a screen that will allow you to choose the input file. Here, you can either drag-n-drop the CSV file or you can click “Select a file from your computer” and browse to it in the file tree.
Once you choose your file, the menu below will pop up. It will ask you to specify the columns for latitude and longitude. I have designed the CSV in such a way that these check boxes will auto populate. All you have to do is click “Continue”.

Next, select the “Name” radio button, displayed below, and then click “Finish”.
Your map will now generate. Finally, to add the SSID network names to the map markers, click the “Labels” drop-down on the left side of the screen and select “name”, as seen below.

And there you have it…a completed map with all of the nearby WEP networks, clearly isolated.

Source
Source Justin Hutchens wrote this outstanding article on his blog. - See more at: http://www.ehacking.net/2014/08/kismet-with-gps-in-kali-linux-tutorial.html#sthash.kNeu1NBo.dpuf
Source Justin Hutchens wrote this outstanding article on his blog. - See more at: http://www.ehacking.net/2014/08/kismet-with-gps-in-kali-linux-tutorial.html#sthash.kNeu1NBo.dpuf
Source Justin Hutchens wrote this outstanding article on his blog. - See more at: http://www.ehacking.net/2014/08/kismet-with-gps-in-kali-linux-tutorial.html#sthash.kNeu1NBo.dpuf
