CredSniper - A Phishing attacking Framework supports capturing 2FA tokens
CredSniper is a phishing framework written with the Python micro-framework Flask and Jinja2 templating which supports capturing 2FA tokens.

Overview
Easily launch a new phishing site fully presented with SSL and capture credentials along with 2FA tokens using CredSniper. The API provides secure access to the currently captured credentials which can be consumed by other applications using a randomly generated API token.
Brought to you by:
Benefits
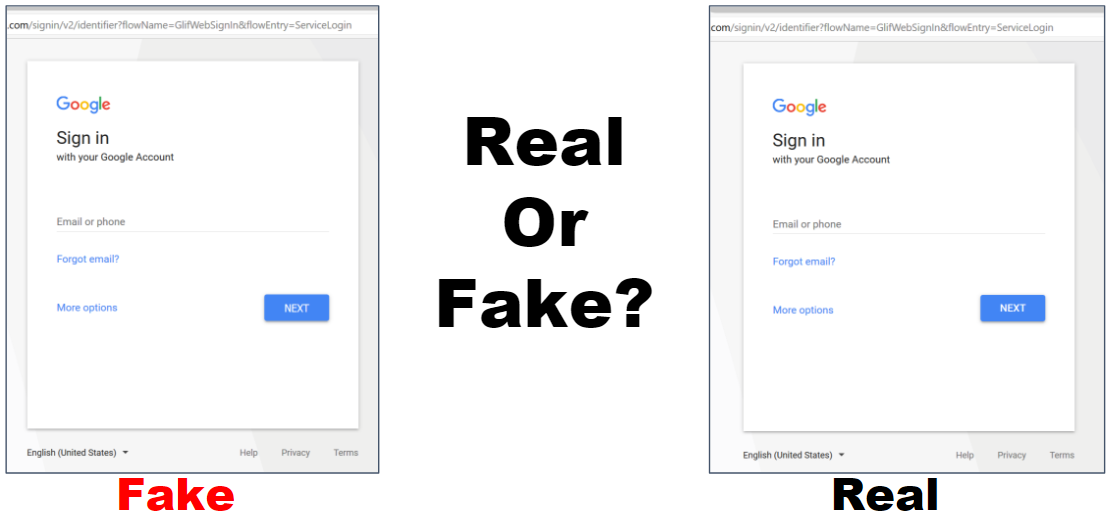
1, Fully supported SSL via Let's EncryptExact login form clones for realistic phishing
2, Any number of intermediate pages(Gmail login, password and two-factor pages then a redirect)
3, Supports phishing 2FA tokensAPI for integrating credentials into other applications
4, Easy to personalize using a templating framework
Basic Usage
usage: credsniper.py [-h] --module MODULE [--twofactor] [--port PORT] [--ssl] [--verbose] --final FINAL --hostname HOSTNAME
optional arguments:
.cache : Temporarily store username/password when phishing 2FA
API End-point View Credentials (GET)
/creds/seen/? api_token=
Update Configuration (POST)
CredSniper has a built-in Gmail module. Gmail Modules include files :

Overview
Easily launch a new phishing site fully presented with SSL and capture credentials along with 2FA tokens using CredSniper. The API provides secure access to the currently captured credentials which can be consumed by other applications using a randomly generated API token.
Brought to you by:
| Black Hills Information Security |
Benefits
1, Fully supported SSL via Let's EncryptExact login form clones for realistic phishing
2, Any number of intermediate pages(Gmail login, password and two-factor pages then a redirect)
3, Supports phishing 2FA tokensAPI for integrating credentials into other applications
4, Easy to personalize using a templating framework
Basic Usage
usage: credsniper.py [-h] --module MODULE [--twofactor] [--port PORT] [--ssl] [--verbose] --final FINAL --hostname HOSTNAME
optional arguments:
 -h, --help           show this help message and exit
--module MODULE      phishing module name - for example, "gmail"
--twofactor          enable two-factor phishing
--port PORT          listening port (default: 80/443)
--ssl                use SSL via Let's Encrypt
--verbose            enable verbose output
--final FINAL        final url the user is redirected to after phishing is done
--hostname HOSTNAME hostname for SSL.cache : Temporarily store username/password when phishing 2FA
.sniped : Flat-file storage for captured credentials and other information
API End-point
https:///creds/view?api_token= Mark Credential as Seen (GET) https://Update Configuration (POST)
https:///config
Modules All modules can be loaded by passing the --module command to CredSniper. These are loaded from a directory inside /modules. CredSniper is built using Python Flask and all the module HTML templates are rendered using Jinja2.CredSniper has a built-in Gmail module. Gmail Modules include files :
Gmail: The latest Gmail login cloned and customized to trigger/phish all forms of 2FA
modules/gmail/gmail.py: Main module loaded w/ --module gmail
modules/gmail/templates/error.html: Error page for 404's
modules/gmail/templates/login.html: Gmail Login Page
modules/gmail/templates/password.html: Gmail Password Page
modules/gmail/templates/authenticator.html: Google Authenticator 2FA page
modules/gmail/templates/sms.html: SMS 2FA page
modules/gmail/templates/touchscreen.html: Phone Prompt 2FA page
Installation (Ubuntu 16.04)
You can install and run automatically with the following command:
Then, to run manually use the following command
~/$ cd CredSniper~/
CredSniper$ source bin/activate
(CredSniper) /CredSniper$ python credsniper.py --help
Note that Python 3 is required.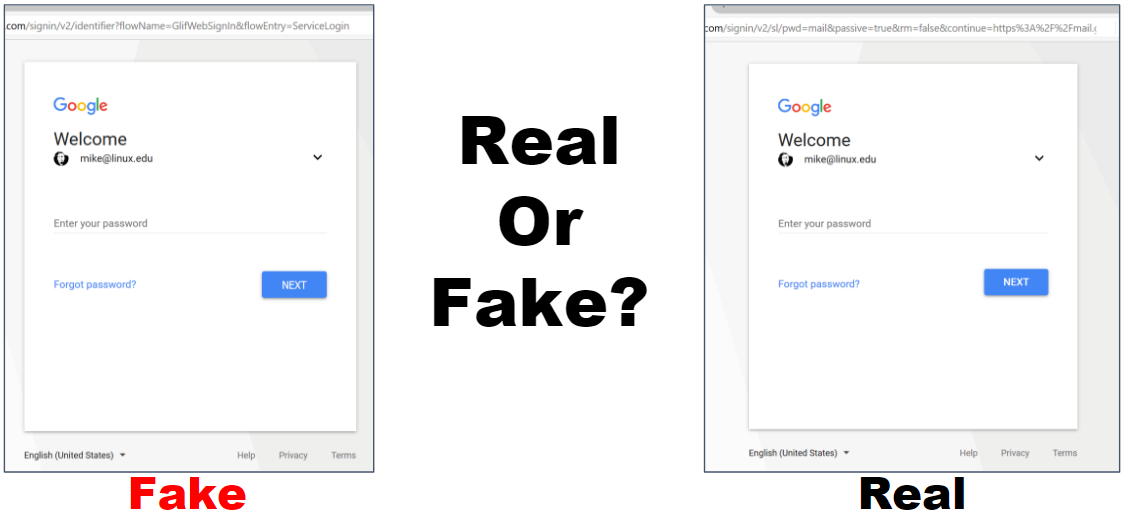

You can install and run automatically with the following command:
git clone https://github.com/ustayready/CredSniper
cd CredSniper
/CredSniper$ ./install.sh
Then, to run manually use the following command
~/$ cd CredSniper~/
CredSniper$ source bin/activate
(CredSniper) /CredSniper$ python credsniper.py --help
Note that Python 3 is required.
Screenshots (in Gmail Module)