2. Mumbiker Nikhil's Video Editing Course - Stabilizing Shaky Videos
Introduction :
Many times, while vlogging or while moto-vlogging the video is kind of shaky, and thus its necessary to fix the problem. In this article, we will learn how to fix shaky video. So your video is crisp clear even when your cameraman is not so professional.
Creating New Project in Adobe Premiere Pro:
Step 1:
Click on file -> new -> project.A new project is going to be the base of anything you do. You can edit videos or even stitch files together but for that, you need to have a project base.
Step 2:
Shortcuts to create new ProjectYou can press 'Ctrl+Alt+N' to open a new project directly. A shortcut or shortcut keys are the actual key to become a professional and work faster.
Step 3:
Opening Old Projects
You can open old projects by click on Open Project in file menu or by simply pressing 'Ctrl+O'
Step 4:
Project Details
You can configure project name, project location as well as rendering options. In case you have a good GPU, you can choose GPU rendering method. In case you have a good processor / RAM configuration then you might want to choose software rendering.
Adding/Importing Videos into your Project:
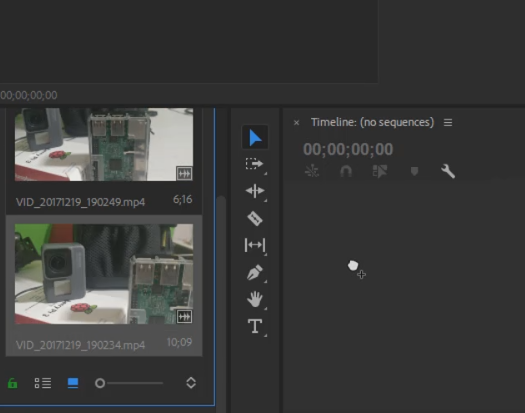
You can simply double-click on the project bin to add or import items or you can right click and click on import.
Adding/Importing Videos to timeline:
Adding/Importing Effects
Step1:
Search for the required effects in the effect tab in the right side.
Step 2:
Drag the effect to the video.
Detailed Video
Check this detailed video to learn more about stabilizing shaky videos with one click.


