Kioptrix: Level 4 walkthrough | OSCP LAB
Setup:
I downloaded the Kioptrix VM from Kioptrix.com and used RAR to expand the compressed file. Next, I created a new virtual machine that mimicked the hardware settings of Kioptrix3. I then used the “Kioptrix4_vmware.vmdk” file as the hard disk for the virtual machine.
I referred to the VulnHub.com site to review the Virtual Machine Information, Networking, as well as expected screen shots once the Kioptrix system had been started. Since Kioptrix uses DHCP, one has the choice of using Private Networking or Bridged Networking. I ended up configuring the NIC for Bridged Networking and kept Kioptrix on an isolated network.
For my attacking system, I decided to deploy a 64-bit VMware Image of Ubuntu 18.04 from Ubuntu.com. I then installed Trusted Sec’s Penetration Testers Framework from GitHub. In addition, I created a Kioptrix_4 directory on the attacking system to capture and store files.
Victim Description:
Based on reviewing the VulnHub.com site, the listed vulnerabilities were:
- File Inclusion
- OS Command Injection
- Privilege Escalation
- Service with Incorrect Privileges
- SQL Injection
In addition, there was a text flag located on the system.
Information Gathering:
Since I knew the isolated network IP Address range, I used Nmap to perform a Ping scan of the 172.27.254.0/24 subnet. In addition, I had Nmap output the findings into three different file formats starting with the name of NmapFastScan.

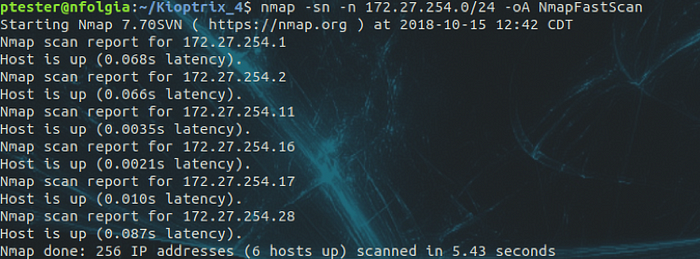
Using the output file that ended with the “.gnmap” extension, I issued the cat command and piped in the grep command to find the key word of “Up”. In addition, I added an additional pipe to issue the cut command to only copy the IP Addresses, from the second column, to output to the LiveHosts file.

In reviewing the returned IP Addressing of the LiveHosts file, I knew that 172.27.254.1 and 172.27.254.2 were assigned to networking equipment. In addition, I knew that 172.27.254.11 was the VMWare host and that 172.27.254.16 and 172.27.254.17 were assigned to other VMWare lab machines. So, through the process of elimination, the IP Address of 172.27.254.28 was the Kioptrix VMWare machine.
With that said, I removed the non-Kioptrix IP Addresses from the LiveHosts file prior to issuing the second Nmap scan.
This time, the Nmap command would use the LiveHosts input file to perform an Aggressive Service scan, this treated all hosts as being online, to probe all TCP SYN ports and then output the findings into three different file formats starting with the name of NmapFullScan.

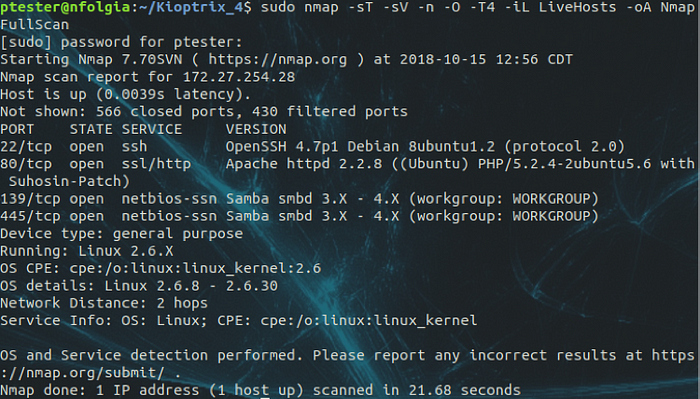
Based on the results, I knew the following:
· TCP Port 22: OpenSSH 4.7p1
· TCP Port 80: Apache 2.2.8; PHP 5.2.4
· TCP Port 139: Samba
· TCP Port 445: Samba
· Operating System: Ubuntu with Kernel 2.6.8–2.6.30
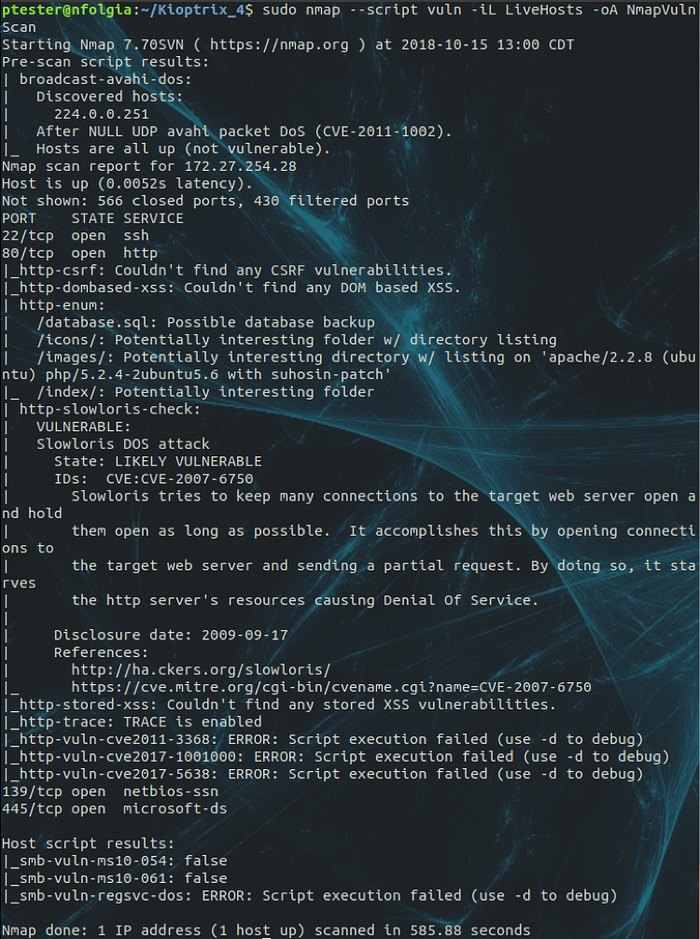
Next, I ran Nmap with the vuln NSE script and then output the findings into three different file formats starting with the name of NmapVulnScan.

SMB Enumeration:
Based on the open ports found using Nmap, I knew that TCP Ports 139 and 445 were associated with Samba. So, I launched Enum4linux, with the tee command, to perform simple enumeration and then output the file to the screen as well as to the file of e4k_28.txt.


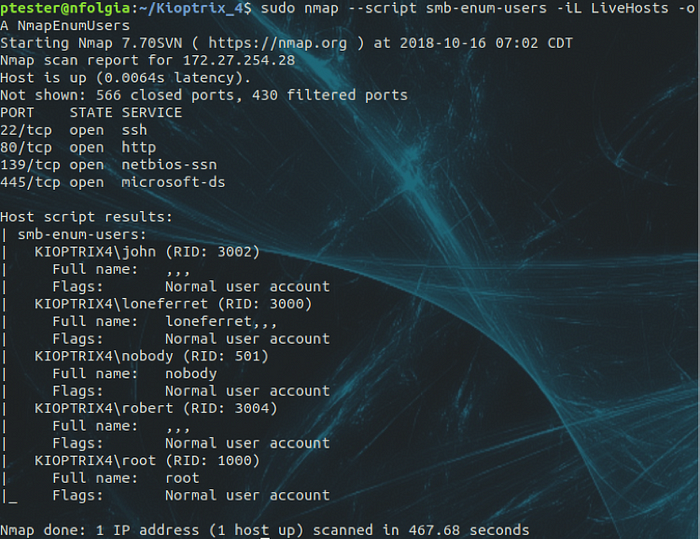
Based on the results, I determined that the following Local User accounts were present:
· S-1–22–1–1000 Unix User\loneferret
· S-1–22–1–1001 Unix User\john
· S-1–22–1–1002 Unix User\robert
· S-1–5–21–2529228035–991147148–3991031631–1000 KIOPTRIX4\root
· S-1–5–21–2529228035–991147148–3991031631–501 KIOPTRIX4\nobody
In addition, I determined the following details for Samba:
· platform_id: 500
· os version: 4.9
· server type: 0x809a03
As an alternative, I used Nmap with the SMB NSE scripts to enumerate SMB on the system.


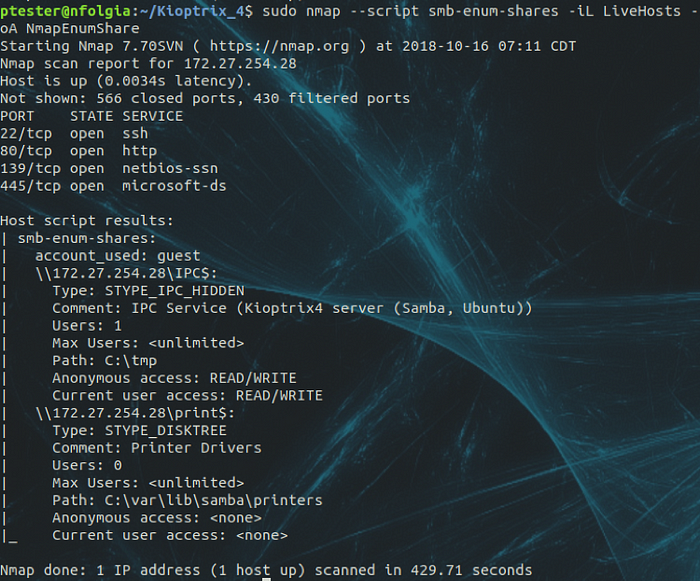
HTTP Enumeration:
Using the data gathered from enumerating SMB, I used nikto to determine the vulnerabilities present as well as enumerating TCP Port 80. In addition, I used the tee command to output the data to the screen as well as to the file of nikto_28.txt.


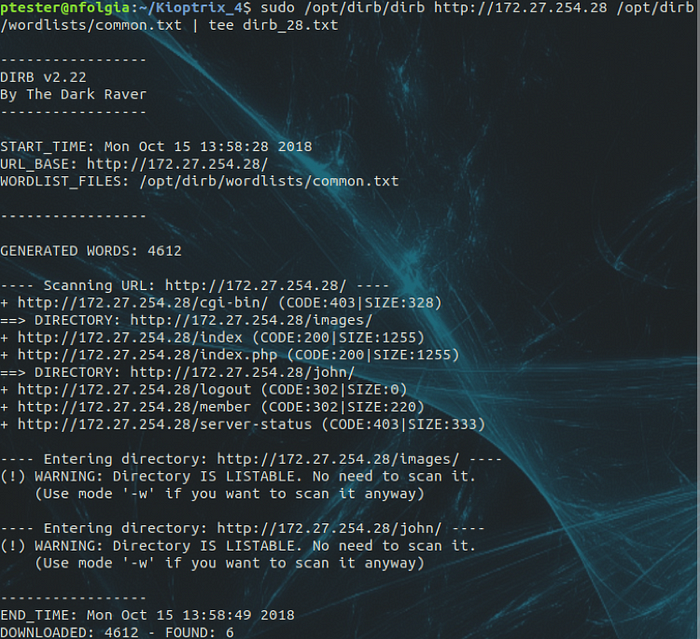
Continuing with enumerating TCP Port 80, I used dirb to determine the listed web site directories and then output the file to the screen as well as to the file of dirb_28.txt with the tee command.

Next, I launched a web browser and connected to the Kioptrix web site.

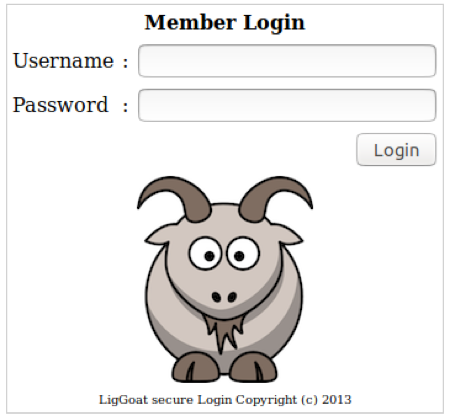
Knowing that the directory of john existed, based on the results from dirb, I established a connection.


Within the john directory was the john.php file. Clicking on the hyperlink redirected me back to the Member Login page.
SQL Injection:
Using the manual process to determine if the web site was vulnerable to SQL Injection, I simply added a ‘ to the Username and Password fields and then clicked the Login button.

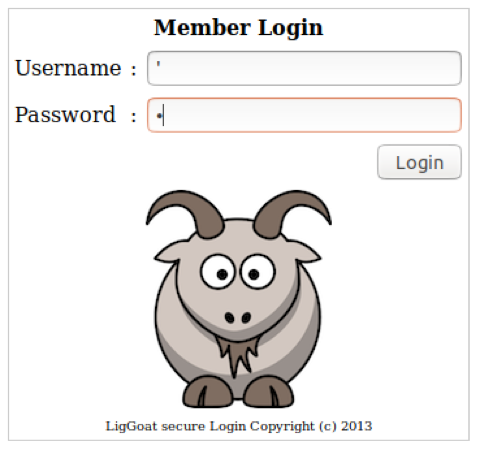
Interesting, I discovered that there was a MySQL database and that the page of checklogin.php was being utilized.


Continuing the process, I used blah’ OR 1 = 1 — — in the Username as well as the Password fields, but was unsuccessful. So, I decided to use the Local Usernames discovered when enumerating SMB with null passwords. Still no luck.
Next, I decided to use the discovered SMB usernames with the blah’ OR 1 = 1 — -SQLInjection within the Password field.

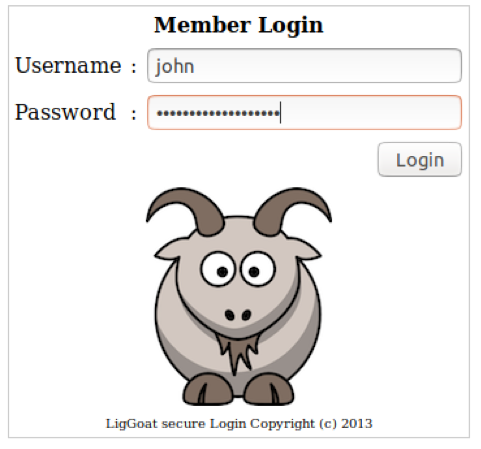
Awesome! Looks like I had valid credentials for john.


Repeating the same process from above, I was able to retrieve the credentials for robert.


Unfortunately, credentials for loneferret, root, and nobody were a no go.

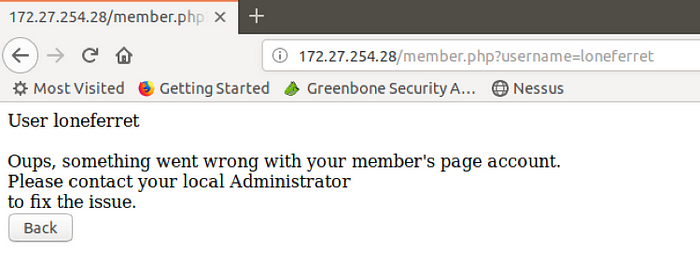
SSH Enumeration:
Since I had valid credentials for the web site, I decided to test the john credentials via SSH.


That worked. I then issued the whoami && id commands to determine privileges.


Hmmm…looks like I have a locked down shell. So, I typed the suggested help command to review my options.


At this point, I decided to investigate what would happen trying to change directories.


Interesting. After two attempts, I was kicked out of the system.
Since echo was enabled, I decided to issue echo $SHELL to determine the type of shell that I was connect to.

OK. Since there is a pathing error to /bin/kshell, I may be connected to a restricted Korn Shell. So, I decided to do some research on how to escape restricted shell.
OS Command Injection:
In researching restricted shells, I decided to try and add the -t “/bin/bash” parameter to the ssh command. Unfortunately, that did not work.


Next, I focused on what I could accomplish with the echo command. I continued to see references to use languages to invoke a shell. However, all of the language commands were restricted in the shell.
Knowing that Python was usually installed on Ubuntu by default, I decided to play around with the following example from the SANS documentation:
python: exit_code = os.system(‘/bin/sh’) output = os.popen(‘/bin/sh’).read()
After some time, I issued the echo command with the Python OS module of System in order to call /bin/bash.


Excellent. I was able to escape the shell and verified the user credentials.


Local Enumeration:
Now that I escaped the restricted shell, I decided to issue the sudo -l command to determine the applications that john had elevated privileges.


Next, I issued the find command to search the entire system for SUID executables. Once found, sending the error output to /dev/null.

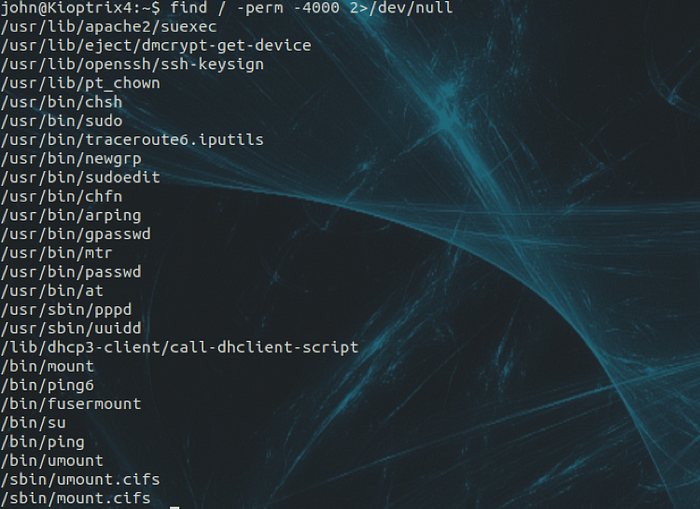
Unfortunately, I did not find anything of interest. So, I decided to investigate the /var/www directory. Remembering that I received an error while using SQL Injection, I decided to view the contents of the checklogin.php file.


Well, well. The root credentials for MySQL appear to be null.
Privilege Escalation:
After identifying the root credentials for MySQL, I needed to determine if root was running the MySQL processes.


Since MySQL was running under root, I needed to determine the commands that I could access through MySQL. In doing some research, MySQL had a module called UDF (User-Defined Function). So, I issued the locate udf command to see if the library was installed on the system.


Next, I logged into MySQL with the root credentials.


Once connected to MySQL, I issued a SQL query to determine if UDF was available within MySQL.


Seeing that UDF was available, I issued a Select statement with the sys_exec function to add john to the admin group.


No errors when adding john to admin. So, I exited MySQL and dropped back into a prompt; where I issued the sudo su command, followed by whoami and id commands.


Bam!!!! I had root.
Flag:
To finish the challenge, I needed to find the flag. Since I had root privileges, I issued a directory listing of the root folder. I found and read the contents of the congrats.txt file.

