How to Install and Play Minecraft on Chromebook
[the_ad id='1307']
Minecraft is undoubtedly one of the most popular games in the world. After its release, Minecraft created a new kind of gaming genre called sandbox games where players could create, modify, or destroy their environment. Eventually, the game got developed for a multitude of platforms including Windows, macOS, Linux, Android, iOS and more. However, even after these many years, the game has not been developed for Chrome OS. But there is nothing to worry as Chrome OS has got the Linux support. Now you can install and play Minecraft and many other Linux games on your Chromebook without much friction. So, let’s go ahead and find out the steps for Minecraft installation on Chromebook using Linux.
Install and Play Minecraft on Chromebook
Before we begin, there are a few things that I want to clarify. You can run Minecraft on Chromebook without moving to the Developer Mode and installing Crouton. In the past few months, Google has improved Linux on Chrome OS significantly and brought many of the features to the stable channel. For example, Google has brought GPU acceleration to the stable channel so go ahead and enable it right now. It makes the gameplay a lot smoother and the difference is simply day and night.
Apart from that, the mouse-capture bug on Minecraft is almost gone on the Chromebook. Now the game is much more responsive and you can increase the mouse sensitivity as per your preference as well. With all that said, let’s go ahead and learn how to install and play Minecraft on Chromebook.
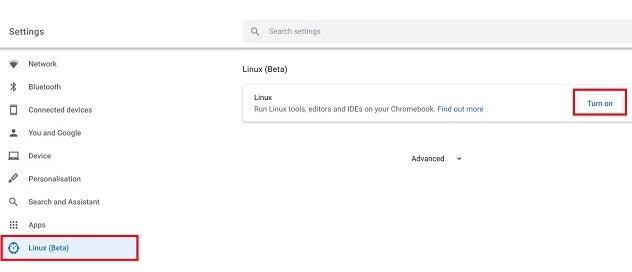
1. Before moving ahead, make sure you have set up Linux on your Chromebook.
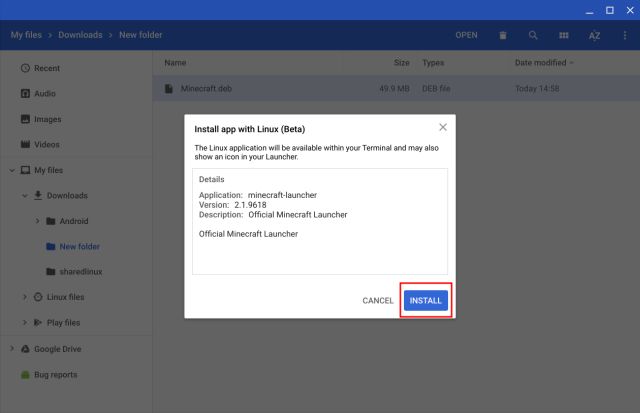
2. Next, download the Minecraft.deb file (Debian/Ubuntu) from the official website. After that, double-click on the downloaded file and click on the “Install” button. Within a few minutes, Minecraft will be installed on your Chromebook.
3. Now, open the Linux Folder from the App Drawer and you will find “Minecraft Launcher”. Open it and voila, there you have it. Minecraft works out of the box on Chrome OS without any tinkering.
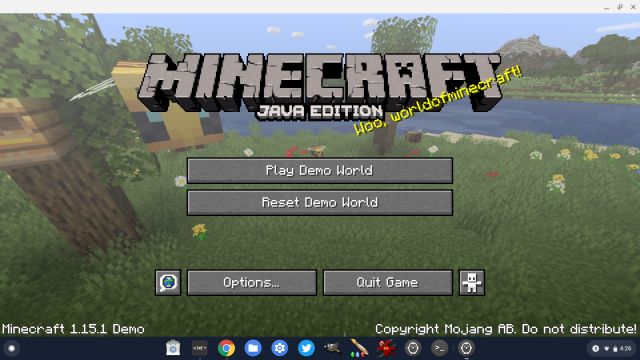
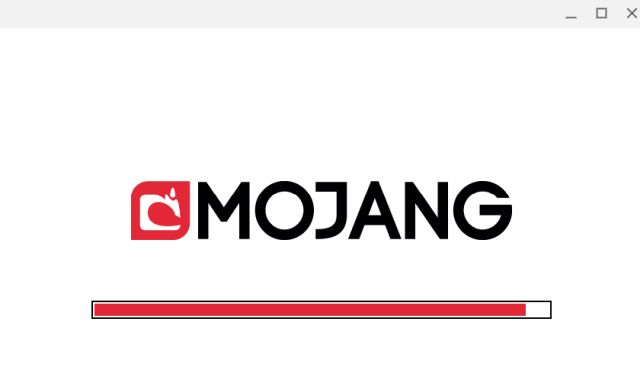
4. Now log in with your Minecraft account and it will download the latest release and install the update itself. The app will close automatically after the installation so open it again from the app drawer.
5. The game runs fine with WASD keys control, but the mouse sensitivity is slightly on the lower side. To fix it, click on Options -> Mouse Settings and change the sensitivity to “Hyperspeed”. Now, you can play the Minecraft on Chromebook smoothly and without any jitter.
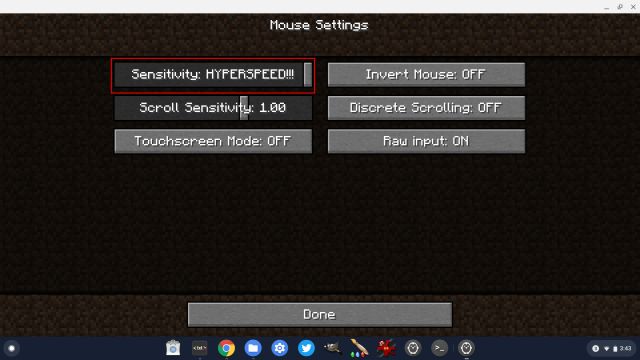
6. In case you face any installation error then run the below Linux command to install the Java Development Kit manually on your Chromebook through the Terminal. After that, install the Minecraft.deb file normally.
sudo apt-get install openjdk-8-jdk
Enjoy Minecraft on Chromebook Without a Hitch
So that was our guide on how to install and play the popular Minecraft game on Chromebook. With the improved Linux (Beta), things seem to be much better now for Linux apps and Chrome OS games as a whole. And the best part is that you don’t need to make any changes to your Chromebook. Everything including the packages and dependencies are built into the Linux system. On top of that, the GPU acceleration brings a considerable difference in the gameplay. Anyway, that is all from us. If you were able to play Minecraft on your Chromebook, do comment down below and let us know your gaming experience.
[the_ad id='1307']
Source link
[the_ad id='1307']